… or starting from scratch.
You heard about microcontrollers, but you don’t know where to start. Well start here – read this article/tutorial and you will never look at microcontrollers in the same way again.
Which Brand
First I’ll put an end to the fight before it’s started. If you are new to microcontrollers, do not think which brand is better – Atmel or Microchip, or any other. If you have a friend that’s familiar with certain type of MCUs – choose this one. If you don’t – pick the one that you see the most in your nearby electronics shop. I’ll present Microchip’s PIC microcontrollers because … I know them better than the others.
Getting the Microcontroller and a Programmer.
I didn’t divide these into 2 sections because you have to find them both at the same time and buy them together. It’s really annoying if you buy a microcontroller and can’t program it.
 First – the easy part – the programmer. It’s a n easy part because you chose Microchip’s PIC MCUs. Buy a PIC Kit 2 and never think twice! That’s it. At the moment you think about another programmer to start with you already made a mistake.PIC Kit 2 is the best MCU programmer I’ve ever seen. It’s better than next generation PIC Kit 3 in any way. Plus They never fixed PIC Kit3 problems. I’m waiting for 4 years already. There are still “in development” features and the standalone programming tool is still beta. I used it only once and I feel sorry I bought it.
On the other hand Pic Kit 2 looks almost the same, but has so much more to offer. And everything works. Weather you use it with MPLab IDE or the standalone program – It works just fine. You’ll notice that I’ve put a label with the pinout near the header. It’s very handy to have it, especially if something is not working. I wander why Microchip haven’t done this themselves. I guess they don’t use it that much :).
As I said I’ll teach you how to program a Microchip microcontroller. But which one should you choose? When you search for a microcontroller to start with these are the most important:
- Built in oscillator – you dont’ want to start with trouble shooting oscillators. Leave that for later
- The simpler, the better – It must be simplest one on the market, with least number of peripherals, digital only. If you want to study some specific peripherals – you’ll buy another one later. Believe or not it’ll save you time and money if you start with a simple one.
- 8 bit (see above – 8 bit are the simplest)
- Choose DIP package. You are learning about microcontrollers. Soldering SMD parts is a separate thing that you might or might not learn. Do not try to do everything at once.
- 5V is prefered. It’s not like 3.3V MCUs are bad. You’ll find most of the parts (at least the ones you will learn at the beginning) use 5V.
So here is a list of MCUs that you would like to buy as a start (pick one of them, do not buy all …):
- PIC16F628A (or PIC16F627A)
- PIC16F648A
- PIC16F87
These do not have ADC (Analog to Digital Converter), which makes them simpler. However most of them have another analog function – comparator(s). So you still have to switch PINs to digital in order to use them as digital input/output. This means that picking a device without ADC does not make it simpler. So if you would like one with ADC – pick one of these:
- PIC16F687
- PIC16F785
- PIC16F689
- PIC16F690
- PIC16F88
The ones above also have SPI, I2C and UART. The only disadvantage is that datasheet is a bit bigger when the device has so many peripherals, which makes it hard to read. Well, you’ll get used to it.
What else do you need?
You’ll need these things:
 A breadboard |
 Breadboard Cables |
 Or an universal PCB |
 A soldering iron |
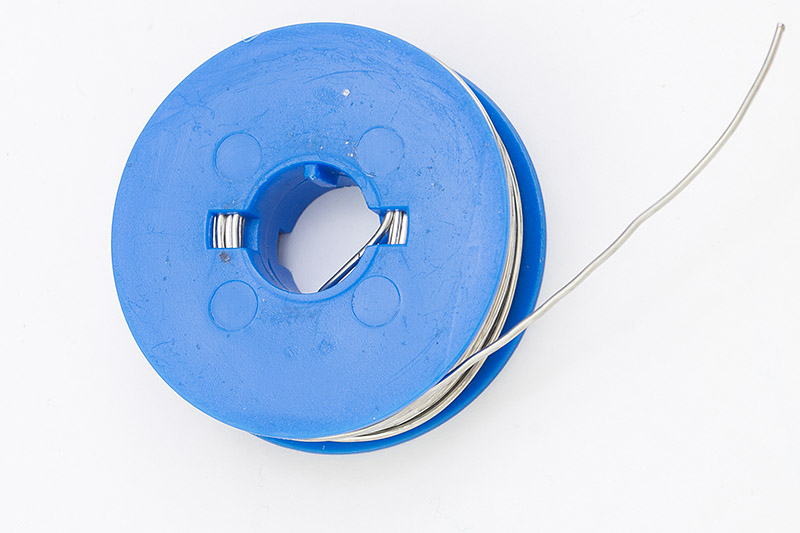 Solder |
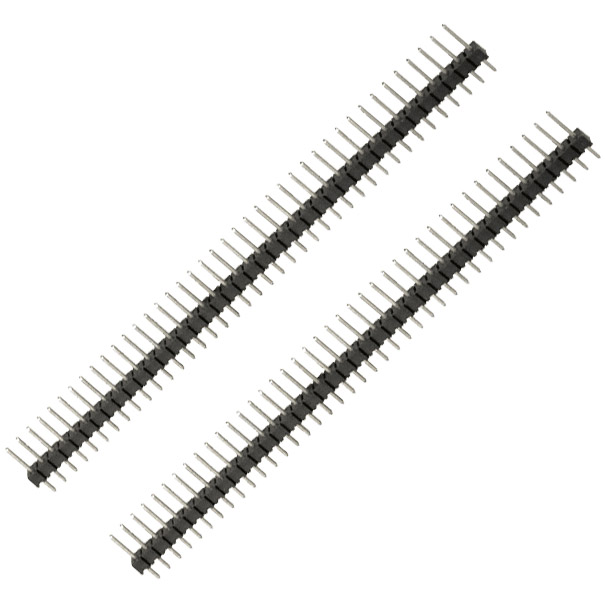 Some SIP headers |
 Soldering Flux |
Personally, I prefer universal PCB over the breadboard. I had a lot of troubles with loose connections on the breadboard. If you buy breadboard, make sure it’s a good one, from quality source.
Soldering iron could be cheap Chinese for $5-6, but make sure it has temperature control. The key to success in soldering is to not overheat the tin.
The solder should be at at most 1mm. 0.8 or less is recommeded. I use 40/60 (40% lead, 60% tin) solder. If you are new to soldering make sure you don’t buy lead-free solder – it’s not that easy to solder with it.
I use soft soldering flux paste. When you buy – ask for non corrosive soldering flux paste.